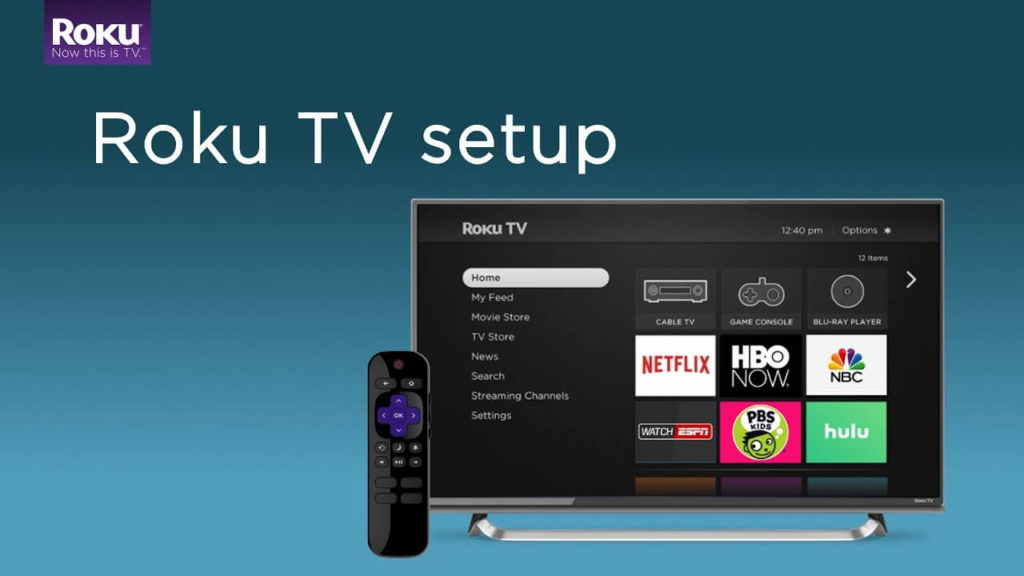
Roku is a great streaming device to watch media content on the TV via the internet. For movies and TV shows, you can install various apps like Netflix, Amazon Prime, Hulu, Disney Plus, and many more. Like other streaming devices, you need to set up the device for streaming media content. Setting up the Roku device is very simple and the process will take only a few minutes. But, the new users may find it difficult to set up the device. Whether you have purchased 4K-enabled Roku Streaming Stick or Box, here is the guide to connect your Roku device to a TV for the first time.
What’s included in the box?
- Roku streaming device
- An HDMI cable
- Remote
- 2-AAA batteries
- Power adapter
- Micro-USB charging cable
How to Connect your Roku Streaming Device to the TV
Connecting your Roku device to the TV for the first time is very simple and the process will take just a few minutes.
Step 1: First of all, unbox the package that you received and plug the one end of the HDMI cable to the streaming device and another end to the HDMI port of the TV. If it is a streaming stick, connect it directly to the HDMI port of the TV.

Step 2: Connect the micro-USB end of the charging cable to the device and USB end to the power adapter. Plug the adapter to the power source and turn it on.
Step 3: Launch your TV and select the right HDMI input source.
Step 4: Roku welcome page will appear on the TV screen. Now, insert the two AAA batteries on the remote and it will pair with the streaming device automatically.

NOTE – If the device asks to pair the remote, press the reset button on your remote to setup the device.
Step 5: Select your language for display on your device.
Step 6: Now, select your Wi-Fi network and password for that network (if needed). If your Roku device is enabled with Ethernet support, you can use Ethernet cable for internet connection.
Step 7: Once connected to the internet, Roku may download and install some updates. The update will be installed automatically.
Step 8: With the help of your remote, select the display resolution of your TV.
Step 9: Now, you need to activate your Roku device. To activate your device, you need to link the device with the Roku account. After selecting the TV resolution, an activation code will appear on the Roku connected TV screen.
Step 10: Take your PC or mobile and visit my.roku.com/link with the help of a web browser. Log in to your Roku account by entering your credentials. If you haven’t created a Roku account, click Sign up and create an account.
Step 11: Enter the activation code displayed on the Roku TV screen and activate your device.
Step 12: After activating your device, you can use the Roku device to stream the media contents.
Common FAQs
How do I connect my Roku to my TV without HDMI?
It is impossible to connect Roku to the TV without the HDMI connection. However, Roku Express+ works with TVs that don’t have an HDMI port. It uses composite inputs to connect with older TVs.
How do I activate my Roku?
To activate your Roku, you need to link your device with the Roku account. Just, visit the Roku activation link on your mobile or PC and enter the activation code to activate the device.
Do I need to activate my Roku TV?
Yes. Regardless of the Roku version, you need to activate your device to complete the setup process. Without activating it, you will find it difficult to download channels on your Roku.
