Nintendo Switch is one of the most widely used gaming consoles for playing video games at home or on the go. Undoubtedly, playing your favorite games on the Switch will be more fun. However, it can be achieved if you know how to set up Nintendo Switch. While setting up your switch, you can set the parental controls if your child is accessing the Switch, and you can also restrict certain features your infant doesn’t want to access. Setting up the Switch may take a while, but all these efforts will have happy results.
What Comes in the Nintendo Switch Box
Before knowing how to set up your Switch, you must be aware on what are the accessories that you receive in that Nintendo box.
- Switch Console
- Two Joy-Con Controllers
- Console Dock
- AC Power Cable
- HDMI Cable
- Two Joy-Con Strap
- One Joy-Con-Grip
How to Set Up your Switch
Setting up Switch involves the below things, and you should be doing the process with utmost care.
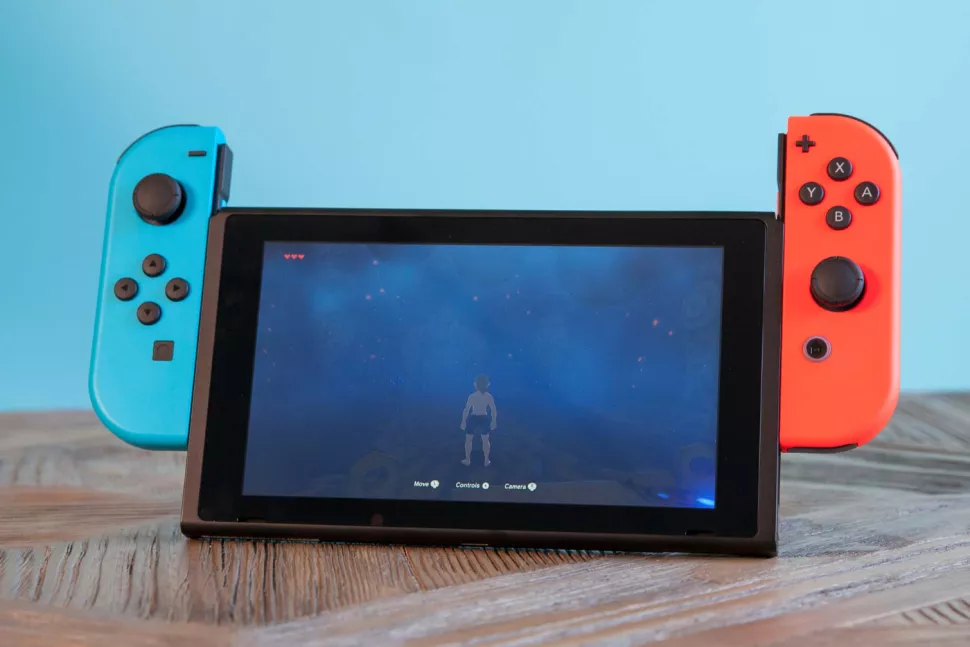
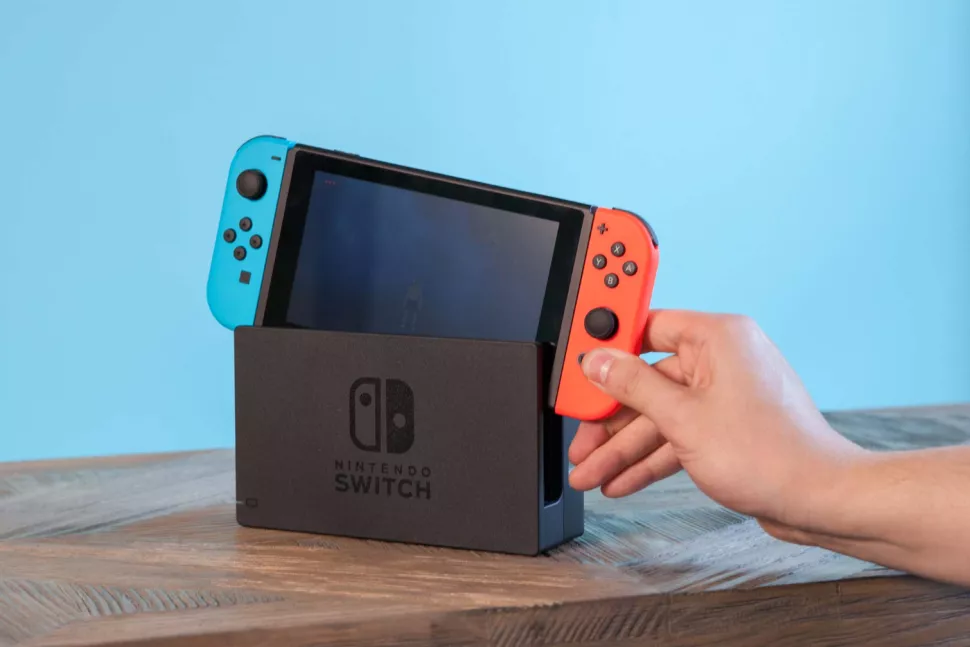
Attach the Joy-Con Controllers
Place the two Joy-Con Controllers on either side of the Switch Console. The controller with the Plus sign(+) goes on the right side, and the controller with the Minus sign(-) goes on the left side.
Select your Language and Region
1. From the home menu, select System Settings.

2. Scroll down to System on the Left pane of the Settings menu.
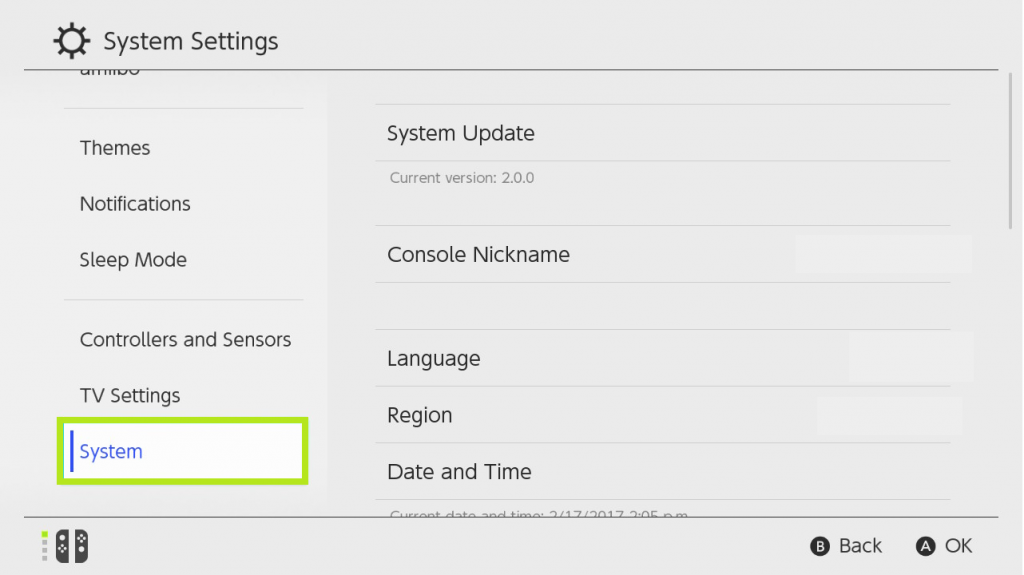
3. From the right pane, select Language.
4. Choose your language from the options given there.
Connect to a Wireless Network
1. Place your Switch Console within 10 feet of the wireless router to ensure a strong internet connection.
2. Go to Settings from the home menu.
3. Select the Internet on the left pane of the settings.
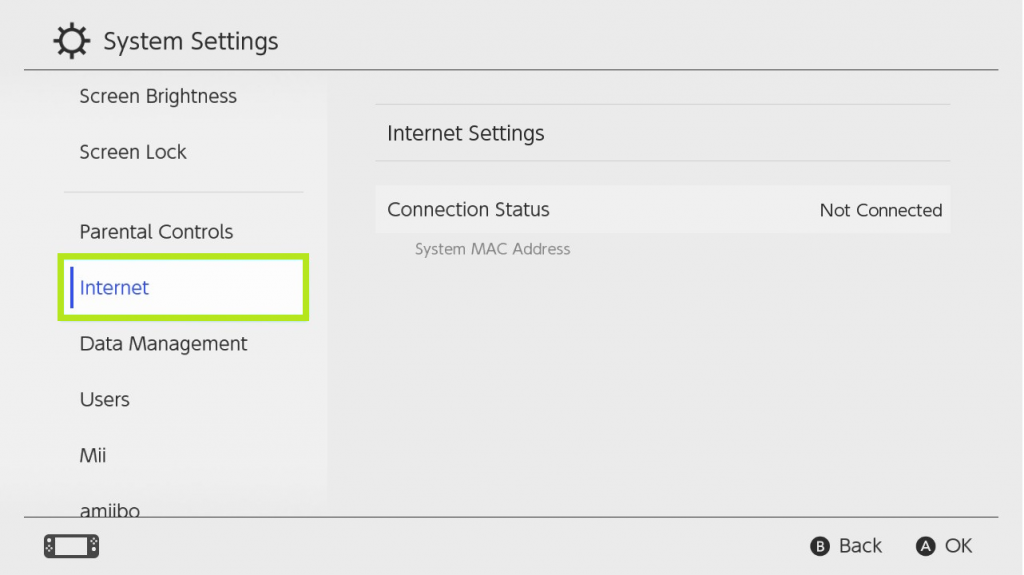
4. Select the appropriate network name (SSID) from the list.
5. Enter the password of your network.
6. Click on Ok to complete the process.
Choose your Time Zone
1. Go to Settings >> System >> Date and Time.
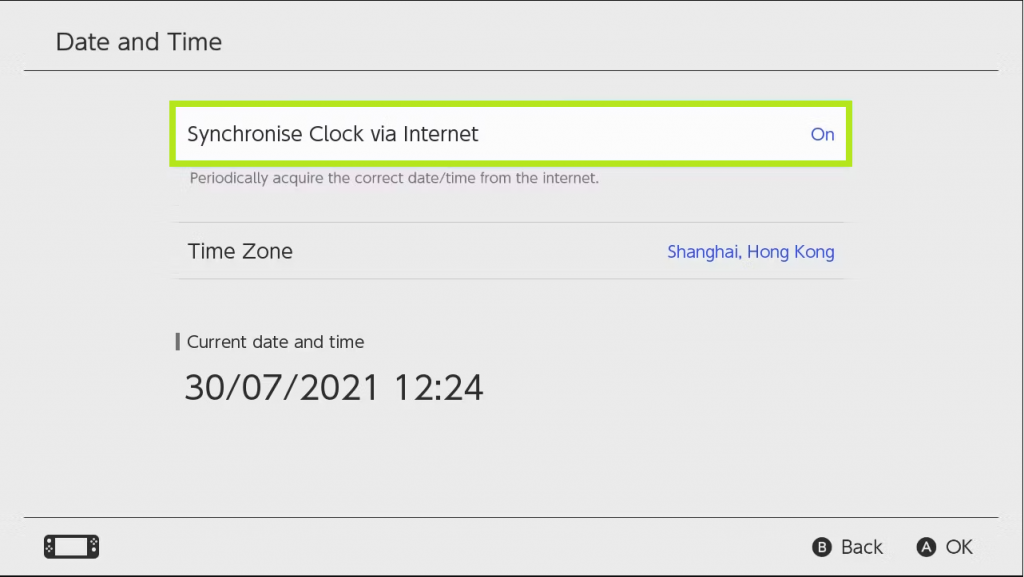
2. Enable Synchronize Clock via the Internet.
3. Select your preferred Time Zone.
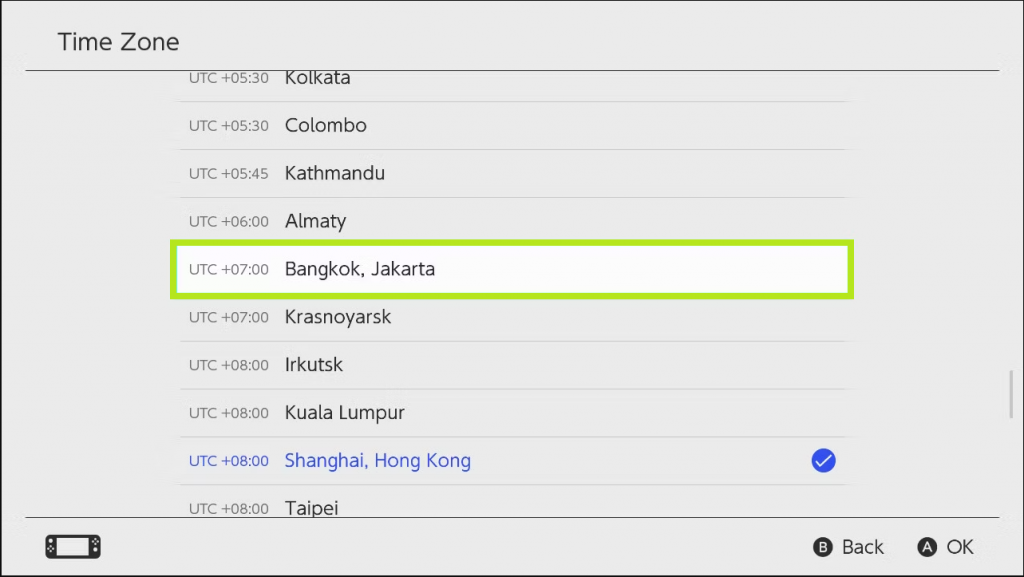
4. If you didn’t find your time zone, select the time zone that is near to you.
Connect to your TV
1. Firstly, find your Switch’s Dock.
2. Open the back cover of the dock. On the back, you will find the hinge cover. In that, you will see three labeled ports, namely, AC Adapter, USB, and HDMI Out.
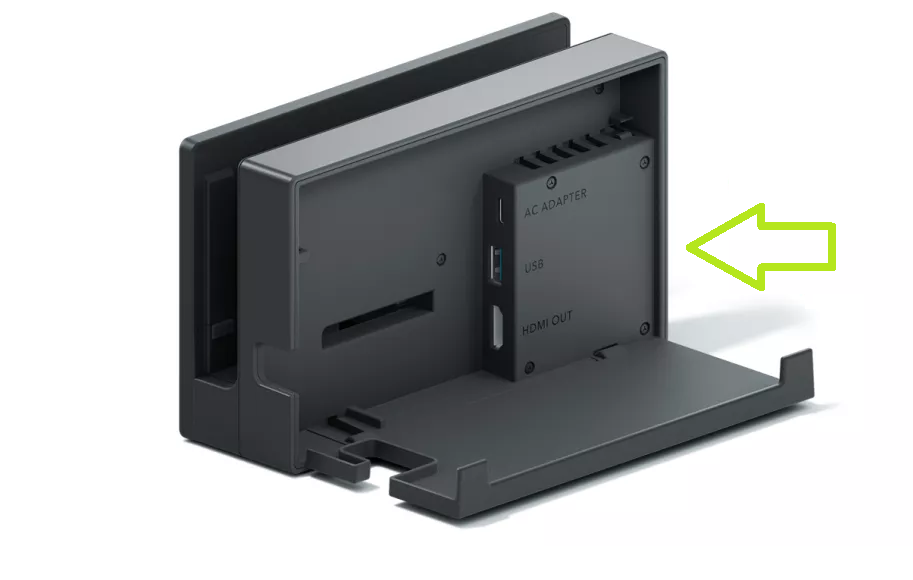
3. Plug in the AC Adapter first.
4. Next, connect the HDMI Lead.
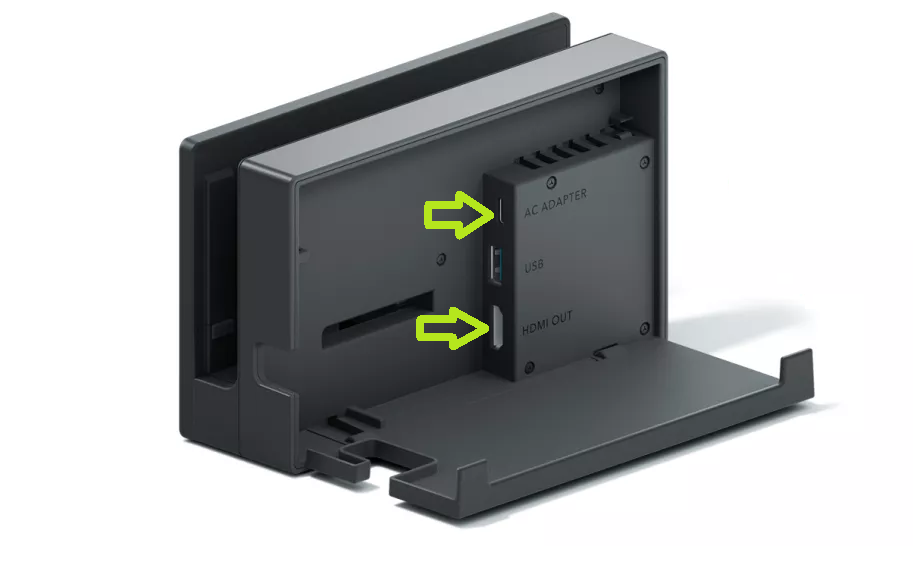
5. After plugging in, close the back cover of the Dock.
6. Then, place the Nintendo Switch carefully on the Dock.
7. Remove the Joy-Cons.

8. If Nintendo Switch is turned off, you should turn on the Switch.
9. Finally, set your TV to correct the HDMI Channel. If the switch is not outputted to the screen, make sure that the cables are inserted into the Dock properly.
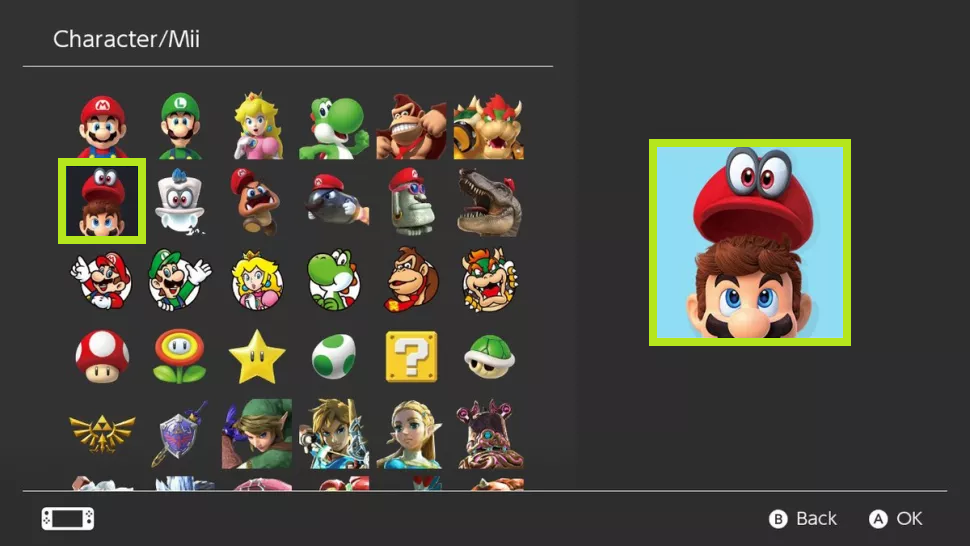
Choose an Icon and a Nick Name
The icon and the nickname will be a part of your public profile. Your name should be 10 characters long. You can create your profile now or later.
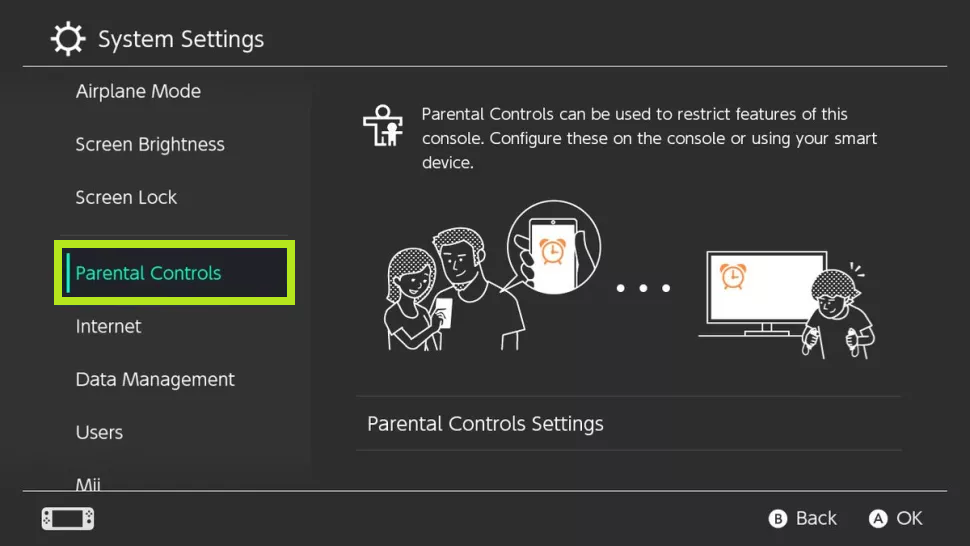
Set Up Parental Controls
If your child is using the console, you have to monitor their play, restrict certain features, and you can even receive remote notifications on your smart device. The need to set Parental Controls on Nintendo Switch is pretty much similar to setting up Parental Control on PS5.
1. Go to the System Settings menu on your Nintendo Switch and select Parental Controls.
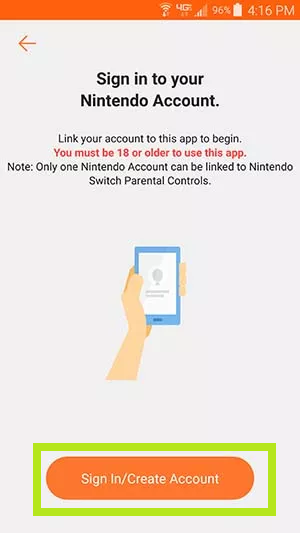
2. Then, download the Nintendo Switch Parent Control app from the Play Store and App Store.
3. After installing, sign in to the app with your Nintendo Account. If you don’t have an account, create one first. Your account should be the same in your app and in your Console.
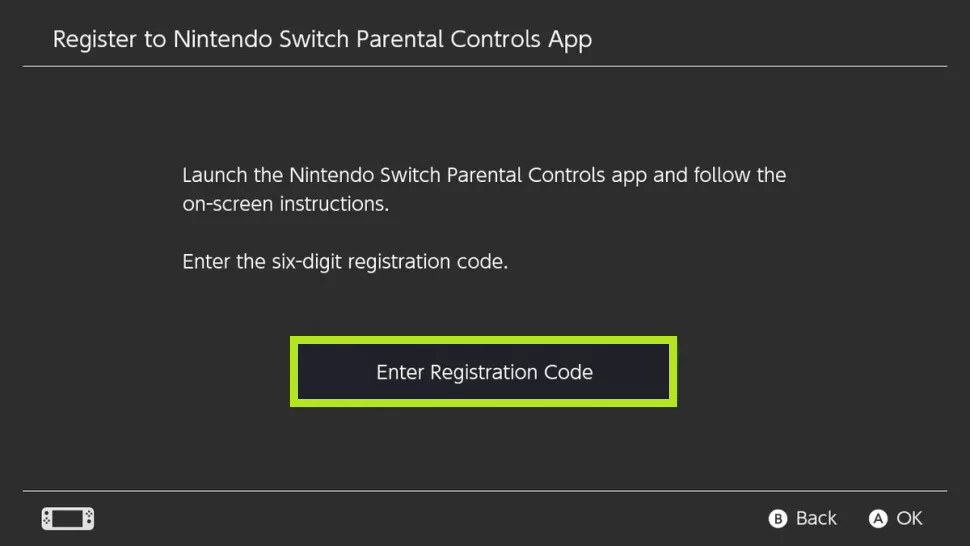
4. Enter the registration code sent by the parental control app in the Console.
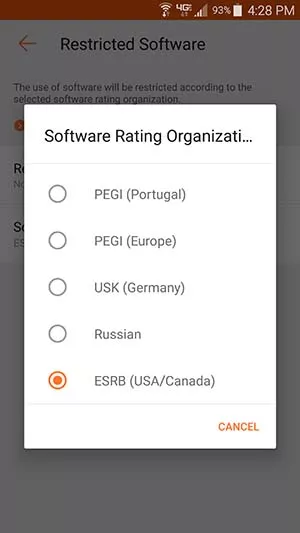
5. After linking the app and the console, you can set the restriction which is best for your child. Software ratings are categorized in general by None, Pre-teen, Teen, Custom, and Child.
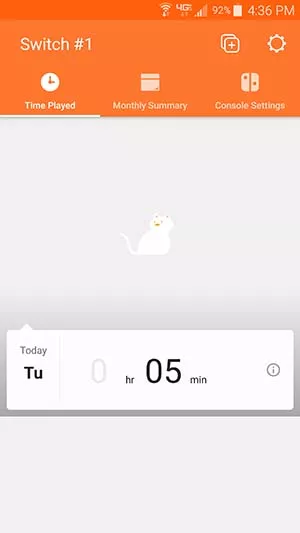
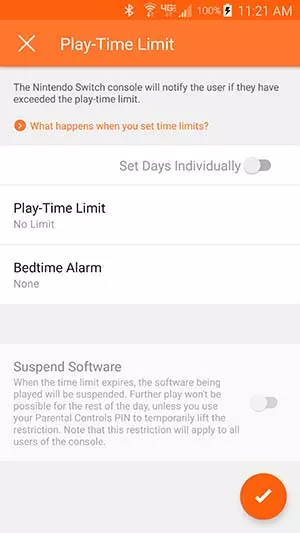
6. After setting up all the restrictions needed for your child, you can set the playing time too. Once your child completed the playing time, the console will intimate the child to turn off the console. You can also set up the eShop restrictions on the Nintendo Switch. The parental apps do not control it, instead, you will supervise that.
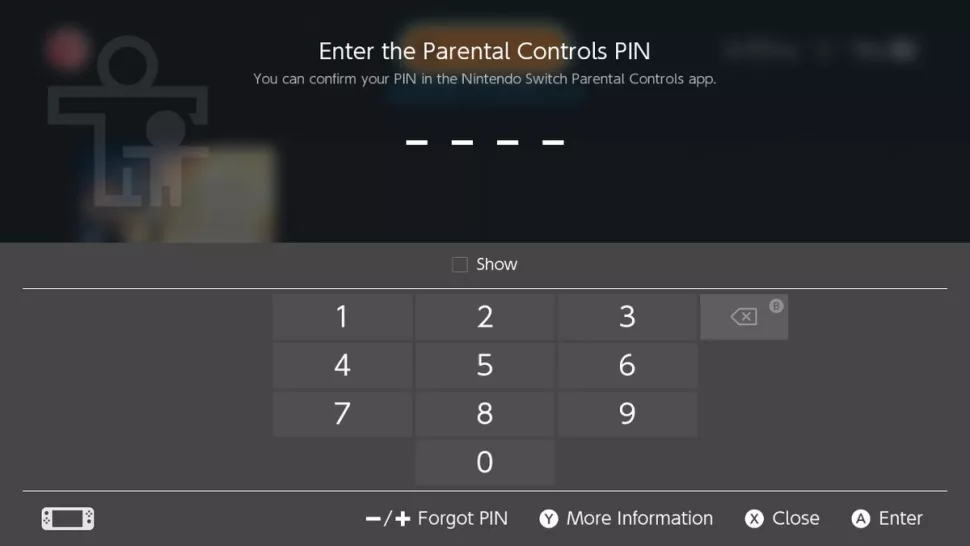
7. In lifting restrictions, you can fully lift the restrictions within the app. At last, after setting up all the restrictions on the Nintendo Switch Console, you have to set up a parental control pin.
Connect Additional Controllers
You can now connect any additional devices once you are on the home screen. Alternatively, go to the Controllers Menu at the bottom of the screen and choose to Pair New Controllers. You can pair up to four controllers at a time.
Choose a Wired Network Connection
If you are unable to connect to a wireless connection or if you prefer a wired connection, you can choose a wired LAN Adapter instead of Wi-Fi. In the System Settings menu, choose the Internet tab and choose Wired Connection. You have to use the system-recognized ethernet cables. LAN Adapters are solely separated and use a USB plug that can be plugged into any of the three switches available.
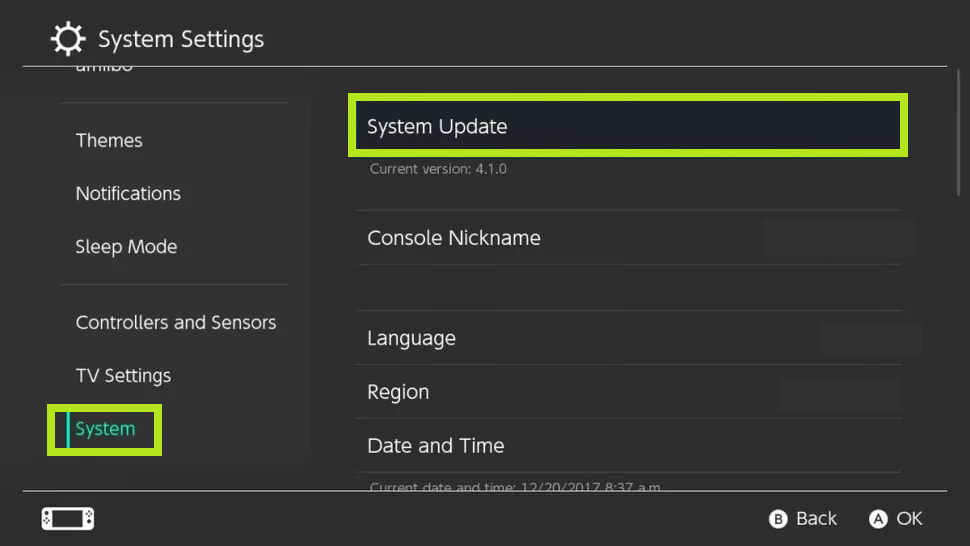
Update your System
Before accessing the online features on the switch, you need to download and install the latest system firmware. To do that, go to the System Settings, and click on System Updated and check for the availabilities for any updates.
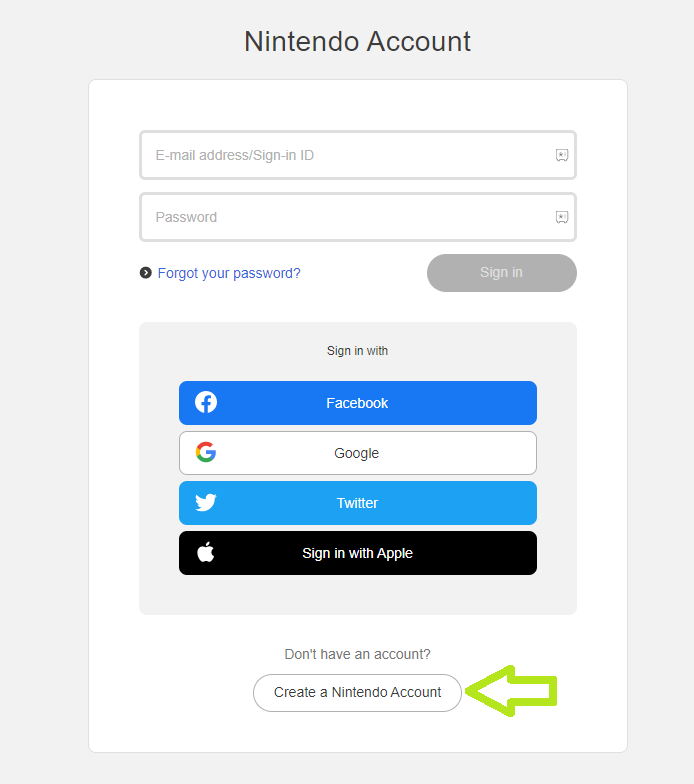
Create / Sign In to Nintendo Account
If you want to access the online features in the Nintendo Switch, you need to link it to the Nintendo account. You can do this on your PC or Smartphone.
That’s all about how to set up a Nintendo Switch. You can also link your Nintendo Account with multiple Nintendo Switch Consoles so that you can have even more fun.
FAQ
Yes. You will need a Nintendo account to access the online features of this device.
This process might take some time.