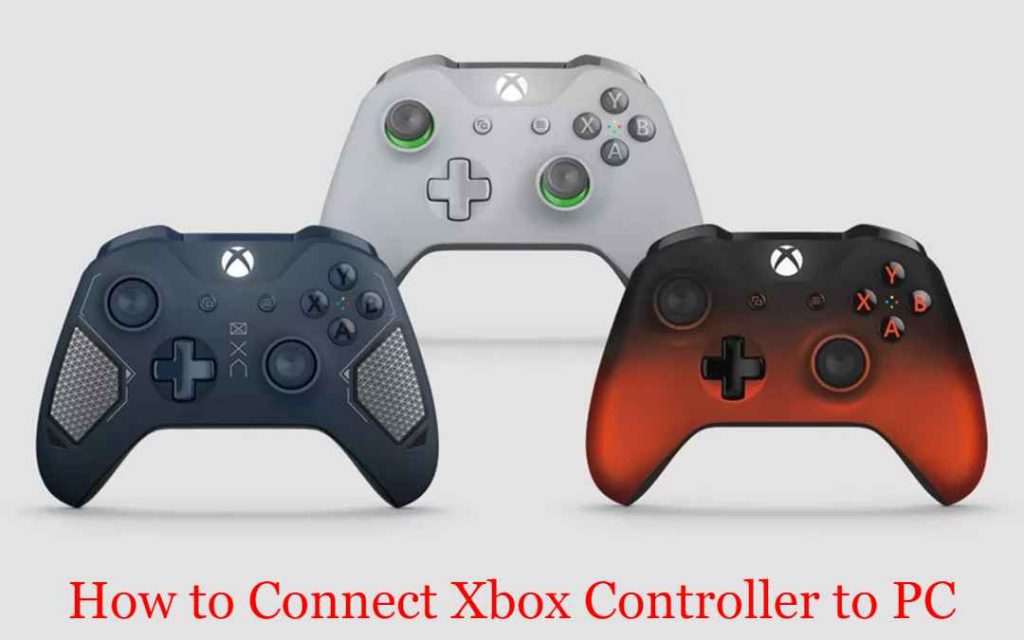
Almost everyone loves playing games, especially on the PC. But, sometimes, we may feel a little tricky while using the keyboard or mouse. Microsoft launched the Xbox controller to give the best gaming experience, which works better than a keyboard and mouse and is widely used by many users and became more versatile by the day. So, if you’re wondering how to connect your Xbox Controller to your PC, you are in the right place. The procedure given in this article will help you with connecting Xbox Controller series X/S, One S, One, and Xbox 360 to PC.
Different Ways to Connect Xbox Controller to PC
We have three different ways to connect your Xbox to a PC.
- Using USB
- Via Bluetooth
- Via Xbox Wireless Adapter
#1: How to Connect Xbox Controller to PC with Wired USB Cable
[1] Initially, plug in the Micro-USB charging cable to the top of the Xbox One wireless controller.

[2] Then, connect the other end of the USB cable to your PC or Laptop.
[3] Now, your PC will identify your controller, and you can start using it.
You can connect up to 8 Xbox Wireless controllers simultaneously with the USB charging cables. If you use the Xbox Chat Headset attached, it supports 4 controllers. The controller with a Stereo headset supports two controllers at the same time.
#2: How to Connect Xbox Controller to PC Via Bluetooth
[1] Switch in your Xbox One Wireless controller and press the Bind and Xbox buttons on your controller.
[2] Keep holding it for three seconds until the Xbox button or controller’s backlight blinks rapidly.
[3] Now, turn on your PC and go to the Settings menu.
[4] Select the Devices option and choose Bluetooth & other devices.

[5] Enable the Bluetooth toggle.

[6] Click Add Bluetooth or other devices. Further, you shall choose Bluetooth or Everything else.

[7] Now, your PC will search for a nearby Bluetooth device.
[8] Finally, choose Xbox Wireless or Xbox Elite Wireless Controller. The PC will configure your controller, and you can start using it.
Related: How to Watch IPTV on Xbox One & Xbox 360
#3: How to Connect Xbox Controller to PC Via Xbox Wireless Adapter
[1] Power on your Windows 10 PC and connect the Xbox Wireless adapter to it.
[2] Go to Settings and choose Bluetooth & other devices.
[3] Under the Other devices menu, you will see the Xbox Wireless adapter option. It means that your adapter is installed successfully

[4] Now, press the Xbox button to turn on your Xbox controller.
[5] Press and hold the Bind button towards your adapter, and you will see the light starts to blink.
[6] The light will start to flash rapidly on the controller and adapter. Once it stops, it states that your devices get connected.
Xbox Controller Not Working on PC: Possible Fixes
When you are connected to your Xbox controller on your PC, but it does not works or blinks, do follow the below guidelines to fix it.
- Try using a different USB cable.
- Put your Xbox controller in the power cycle mode.
- Unplug the Xbox controller and once again re-plugged it.
- Update the Xbox One Controller Driver
- If the issue does not get fixed, update the firmware.
FAQs
Yes. Just plug your USB cable into your controller and the other cable end into your PC.
The Xbox One S and later version controllers come with wireless communication and Bluetooth feature.
You can use a USB-C cable to connect your controller to your PC. The step is similar to the Xbox One gaming console.
You may not be able to connect Xbox to a PC if you are using an incompatible USB cable.
You can connect Xbox to PC without Bluetooth using the USB or Xbox wireless adapter.
The Xbox Wireless Gamepad supports pairing the Xbox controller to the PC in addition to the gaming console.
